
Signing Up
To get started with Comb9 you must first sign up for a free account. Signing up is quick and easy. It requires no personal information other that a permanent email address. (A permanent email address is required because is used for your account management as well as any customised alerts you may configure.) After signing up you will receive a confirmation email which you use to validate your account. Once validated you will be ready to go. Credit will be waiting in your account to start creating amazing things.
Comb9 is free to use. You will receive complimentary credit each month on the anniversary of your signup. Additional credit can be purchased. Additional credit may be required if you wish to run a lot of agents, particularly complex agents or agents which use advanced features, or run agents very frequently. Complimentary credit should be ample for most uses.
Personalize your Account
Click on your user name on the right-hand side of the navigation bar to access your account.

Here you can change your avatar to something nicer and select the correct timezone for where you are in the world.
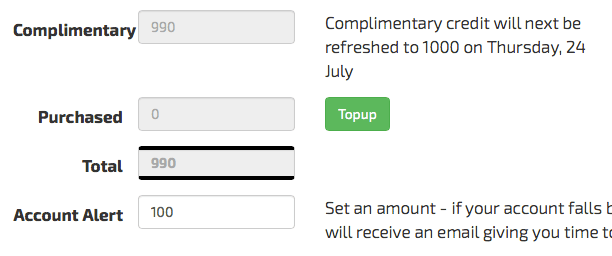
Towards the bottom of the account page you can see details of your remaining credit. You can configure an email alert when your credit becomes low. Also you will see a Topup button to purchase supplementary credit.
Creating your first Agent
(Email me when tweets about a certain subject are posted)
Comb9 allows you to create smart agents that will run continually to perform repetitive tasks for you. In this example will will create an agent to search twitter and email us any results that are found.
First make sure you are logged in and then click on the Agent link in the navigation bar. You will now see the “Agents” page. It will tell you that you have no agents yet.
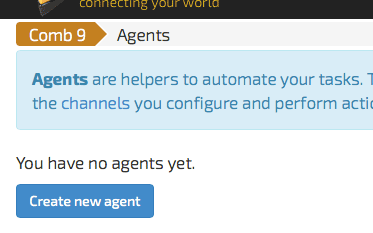
Click the Create new agent button. You will now see the Create New Agent page.
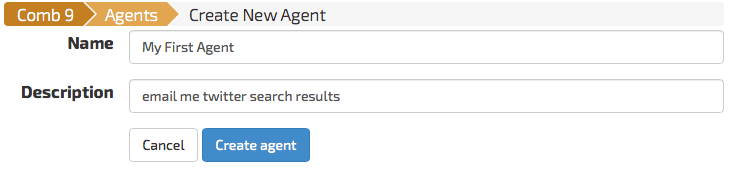
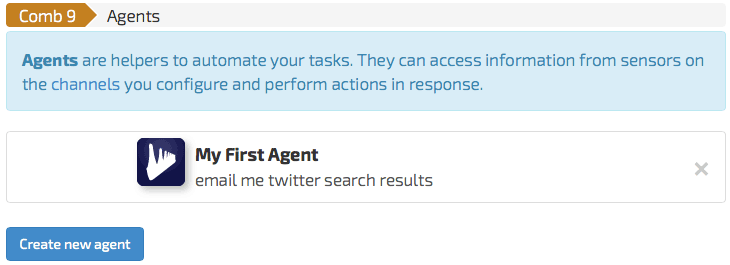
Enter “My First Agent” in the name field and “email me twitter search results” in the description. Then click the “Create agent" button. You will now see the Edit Agent page with configurable details of the new agent we have created.
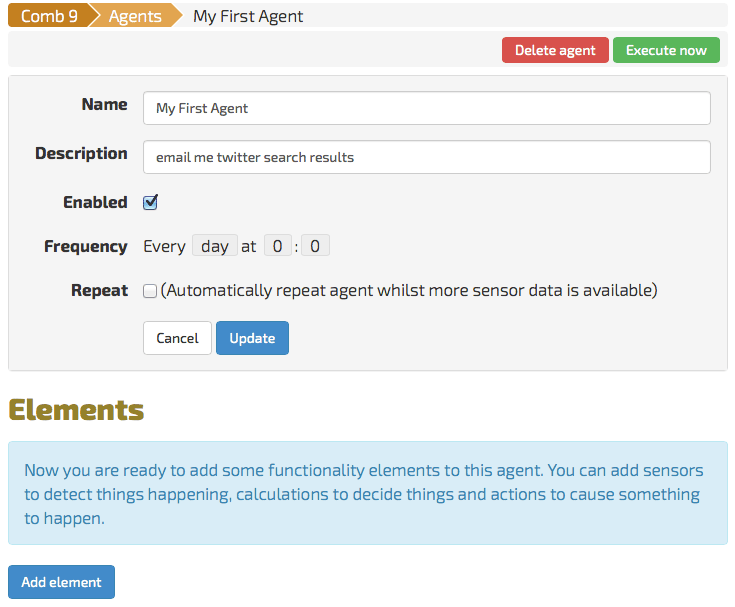
On this page we can enable and disable the execution of this agent, set when it is scheduled to run and manually execute it (to see if it is working as expected.) In addition we add elements to it. Elements are the pieces of behaviour that the agent will perform when it runs. Any elements we add will run in the order they are specified. See Understanding how Agents Run section for more details.
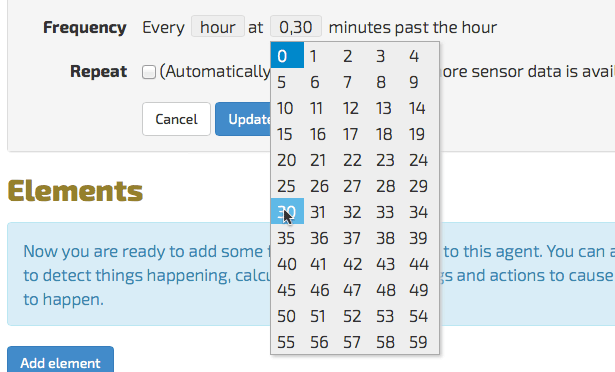
Firstly, let us reconfigure the agent to run every half hour (the default is every day at midnight.) Click on the “day” box next in the frequency setting and select “hour” from the drop down. Then click on the minutes box, which will have 0 selected initially, and then select 30 also from the drop down.
Now click the Update button. The updated schedule will be saved and you will return to the “Agents” page. You will now see your new agent.
Activate a Channel
Following on from “My First Agent” in the previous section we will now add some functionality to it. Click on this agent on the Agents page and you will be taken to the Agent Edit page. Now we will add some functionality. Click on the Add Element button at the bottom of the page. You will see a pop up with a list of available Channels. Channels are categories of elements based on what they do.
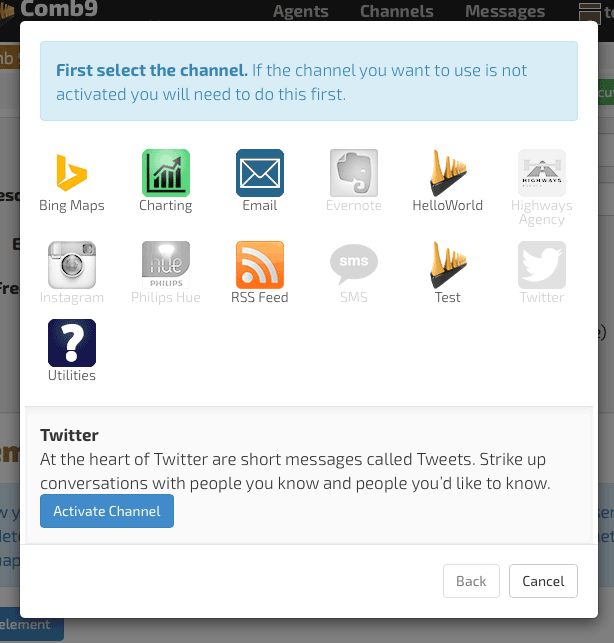
Click on the Twitter Channel. You will notice it is grayed out - this is because this is the first time Comb9 has attempted to access twitter. You will need to activate it. Activation establishes a trusted relationship that allows Comb9 to access your twitter account to perform actions based upon which elements you use in the agents you create.
Click the Activate Channel button. This will take us to the Twitter channel page.
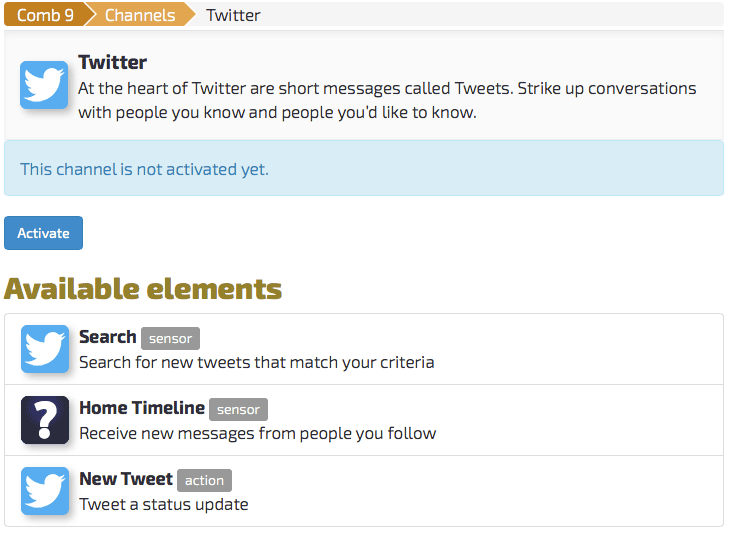
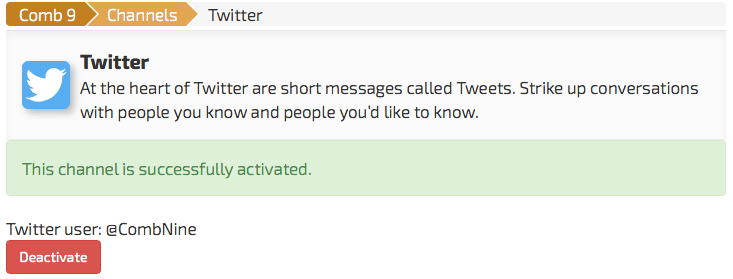
Click the Activate button. This will send you to twitter.com where you will be prompted to login and authorise. (You will be able to revoke this authorisation at anytime.)

After successful authorisation you will be redirected back to Comb9 and you should see the twitter channel has been successfully activated and your twitter handle will be displayed. You will only need to activate twitter once, now you can use it for other agents automatically. Let us now return to creating our agent.
Adding functionality
Click on the Agents link on the navigation bar, select “My First Agent”, click the “Add element” button and finally click on the Twitter channel in the pop up. You will see the pop up now display the list of available elements from the Twitter channel.
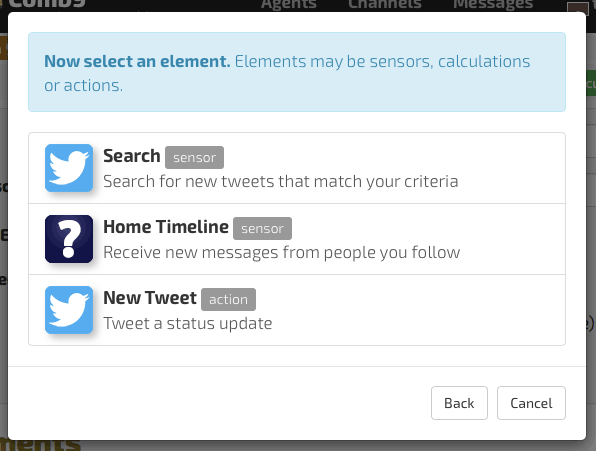
Select “Search” and the Twitter search element will be added to your agent. You will then be taken to the configuration page for the search where you can enter a search term.

Enter “weather” (the great British obsession) and click Update. You will now return to the Agent page.
Click Add Element again. This time select the Email channel and then the Send email element. You should now see the configuration page for the “Send email” element.

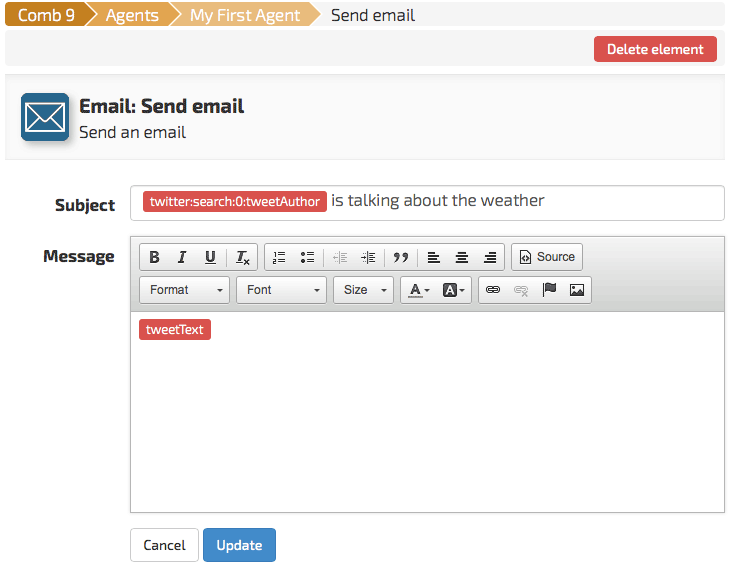
Many of the configuration fields for elements allow substitutions by plugging-in output values from prior elements in the agent. The outputs are displayed at the top of the configuration page and may be dragged into the configuration fields. (Fields will highlight if they accept substitutions.) Drag the “tweetAuthor” output onto the email subject field. You should see it stick there.
Now click on the subject field just after the tweetAuthor substitution and type “is talking about the weather”
Drag tweetText onto the Message field. This will add the tweet text into the body of the email message.
Click update to save the changes to the “Send email” element and you’ll be returned to the Agent edit page.
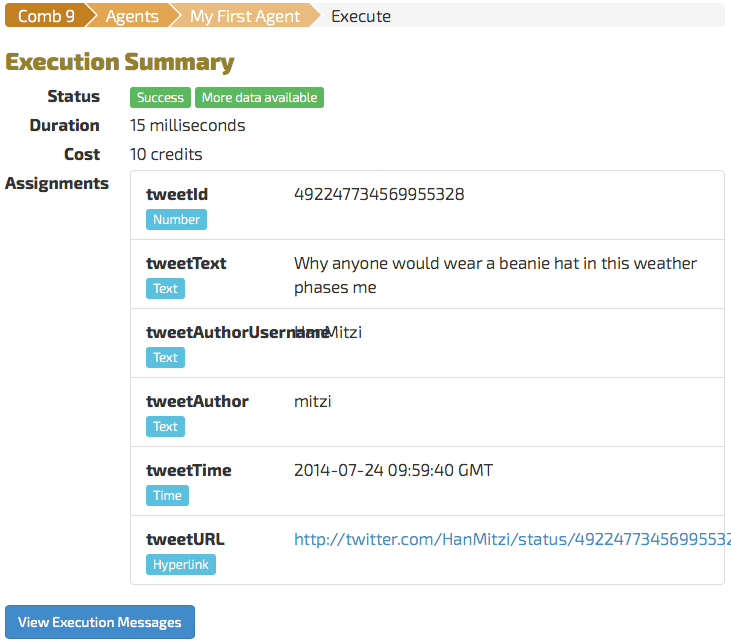
The agent is now ready for us to try. So click “Execute now” (near the top right of the page.) If you all is well you will see an execution summary page similar to this one:
Now check your email. You should see a new message with the subject and message body we have configured.
That’s it! You have created and run your first agent. If you leave it enabled every 30 minutes you will receive and email with a tweet about the weather. (Unless you're British you might want to disable it.)
More details
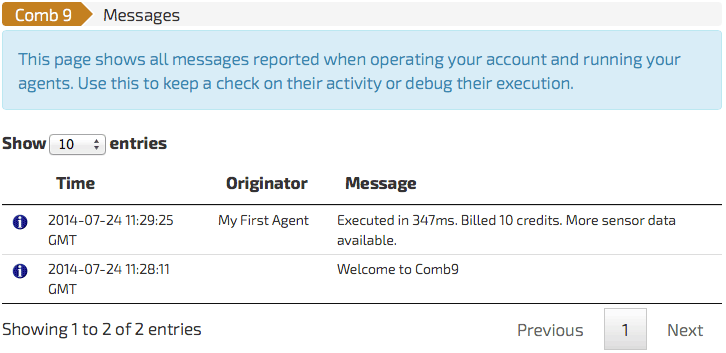
The messages page acts as an activity log for your Comb9 account. You can see every time an agent executes.
Elements can be reordered with an agent by dragging them around. If you’ve put the cart before the horse and one element depends upon the outputs of an element that is now after, then you will immediately see - the element will highlight in red:
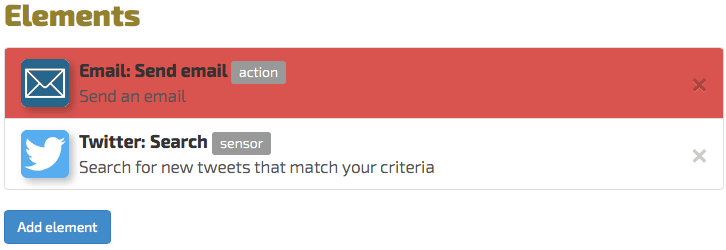
Clicking on the element will show the substitutions that are broken:
Understanding how Agents Run
Agents can be run in two ways. Firstly when you click “Execute now” on the “Edit agent” page, secondly when they are scheduled to run according to the configured frequency.
Normally an agent will run just once and process one event every time it scheduled. However is you tick the “Repeat” checkbox, when scheduled it will run multiple times until any sensor elements it contains have no more data available. This option is useful when more than one event occurs between scheduling and you don’t want the agent to get behind.
Elements within an agent run in order. An element may choose to abort, for example if a sensor has no data. When this happens no subsequent elements will run and the agent will terminate prematurely.
Elements such as sensors and calculations produce output values. These can be substituted into elements which run after them. These output values are typed but can largely be interconverted where sensible conversions exist. Currently supported types include:
- Text
- Boolean
- Number
- Time
- Hyperlink
- HTML
- Image
- Geolocation
- Aggregate
- Raw Data
- Error
Agents consume credit to execute. Every element has a cost and every time it runs that cost is billed.
Each agent runs in isolation to other agents. Some elements may store information between executions. A particularly useful example is the Aggregate Multiple element. It can be used to capture information from multiple runs of an agent and then use that information as a group. For example to merge multiple events into one email, or to calculate statistics of charts based on the dataset.
